
Boiling an egg is often considered the most basic kitchen task. However, the real test of a cook’s patience comes after the boiling is done. We have all experienced the frustration of trying to peel an egg, only to find that the shell is practically glued to the egg white. Instead of a smooth, pearly egg, you end up with a cratered mess that looks unappetizing.
If you want to stop wasting half your egg whites and start peeling like a professional chef, this guide is for you. We will dive deep into the science and the best techniques to ensure your eggs come out perfect every single time.
The Science: Why are Some Eggs Harder to Peel?
To understand how to peel an egg, you first need to understand the biology of the egg itself. A fresh egg has a very low pH level in the egg white (albumen), which makes it stick tightly to the thin inner membrane of the shell.
As an egg ages in your refrigerator, the pH level rises and the protective “glue” starts to weaken. This is why older eggs (about 1-2 weeks old) are naturally much easier to peel than farm-fresh eggs. But don’t worry—you don’t have to wait weeks to enjoy a perfectly peeled egg if you use the right methods.
Phase 1: The “Hot Start” Boiling Method
Most people start their eggs in cold water and bring them to a boil together. This is a mistake if you want an easy peel.
- The Technique: Bring your water to a boil first, then gently lower the eggs into the water using a slotted spoon.
- Why it Works: This “thermal shock” causes the egg whites to cook and retract away from the shell membrane almost instantly, creating a small gap that will make peeling much easier later.
Phase 2: The Critical 10-Minute Ice Bath
If you want to master how to peel an egg, you cannot skip the ice bath.
- Prepare a bowl with plenty of ice and cold water while your eggs are boiling.
- Once the timer goes off, move the eggs directly from the boiling water into the ice bath.
- Let them sit for at least 10 to 12 minutes.
The cold water stops the cooking process (preventing that ugly green ring around the yolk) and causes the egg to contract slightly inside the shell. This physical separation is the key to a clean break.
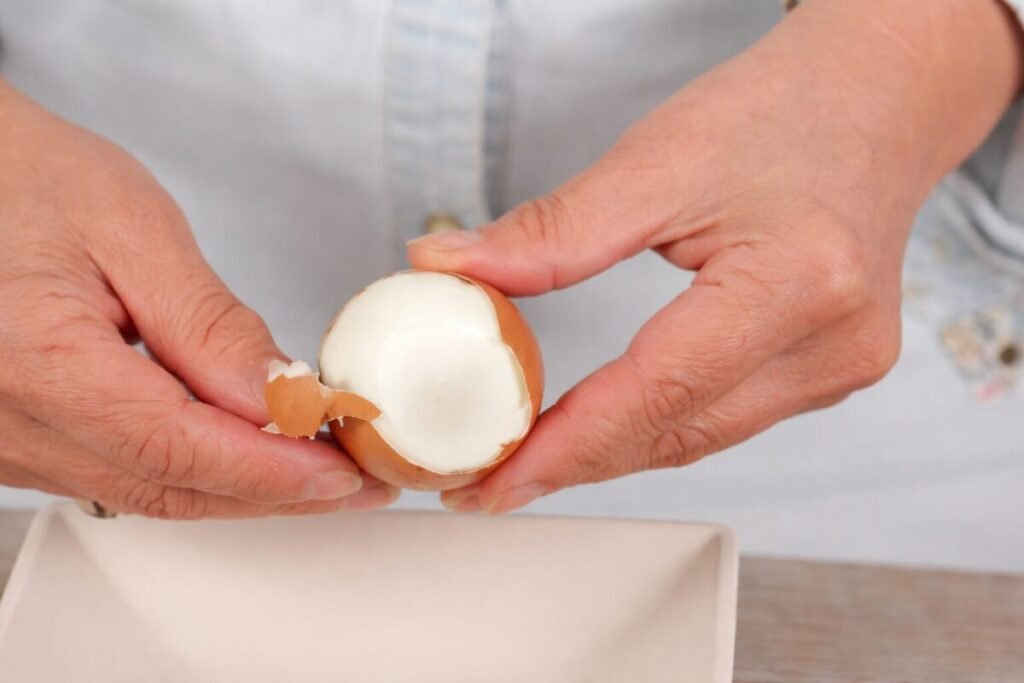
Phase 3: The Best Peeling Techniques
Now that your egg is properly “shocked” and cooled, it’s time for the final act. There are three main ways to do this:
1. The Countertop Roll
Tap the egg gently on a hard surface to create a crack. Then, place the egg under your palm and roll it back and forth with very light pressure. You want the shell to look like a “mosaic” of tiny cracks all over. This breaks the tension of the membrane.
2. The Spoon Trick
Crack the wider end of the egg (where the air pocket is). Once you have a small opening, slide a small spoon between the shell and the egg white. Gently rotate the spoon around the egg. The curve of the spoon matches the curve of the egg, often popping the shell off in one large piece.
3. The Underwater Method
Peel your egg while holding it under a stream of cool running water or submerged in a bowl of water. The water acts as a lubricant, helping the shell slide off the delicate egg white without tearing it.
Summary of Pro Tips for “How to Peel an Egg”
- Use Older Eggs: If you know you are making deviled eggs for a party, buy your eggs a week in advance.
- Add Baking Soda: Adding a half-teaspoon of baking soda to the boiling water increases the pH level, mimicking the aging process of an egg.
- Start at the Bottom: Always begin peeling from the fat end of the egg where the air cell is located. It’s the easiest point of entry.
Conclusion
Perfectly peeled eggs are not a matter of luck; they are a matter of technique. By understanding the pH levels and using the “Hot Start” and “Ice Bath” methods, you can become an expert at how to peel an egg. No more sticking, no more mess—just beautiful, smooth eggs ready for your salads, snacks, or breakfast.